How to Make Sugar Wax
A year of professional waxing can set you back around $756, but you can achieve the same results with homemade sugar wax that costs just a few dollars. Sugar waxing stands among the oldest beauty treatments still popular today, with its roots tracing back to Ancient Egypt around 1900 BC.
Sugar wax works better for people with sensitive skin because it doesn’t pull out the hair follicle, which makes it less painful than traditional hot wax. The process naturally exfoliates and hydrates your skin. Your skin will thank you for choosing this natural alternative over chemical-heavy commercial products, especially when you have sensitive skin.
This piece shows you everything you need to create and use sugar wax at home successfully. You’ll learn about the simple ingredients, application methods, and aftercare steps. The recipe delivers professional-quality results with minimal investment, whether you prefer using strips or the traditional hand-flicking method.
Why Sugar Waxing Is Worth Trying
People have used sugar waxing as a hair removal method for thousands of years, and with good reason too. This ancient technique has several advantages that make it better than regular waxing methods when you want smooth, hairless skin.
Less painful than traditional waxing
The notorious pain of waxing keeps many people away, but sugar waxing is a gentler option. Customer studies show sugar waxing scores just 4/10 on the pain scale. The pain is less because sugar paste sticks only to hair and dead skin cells—not to live skin cells.
The way you apply it is a vital part of reducing pain. Regular waxing pulls hair against its natural growth direction and causes more pain. Sugar wax works differently – you apply it against hair growth but remove it in the direction of growth, which makes it hurt less and irritate skin less.
Temperature also makes a big difference in comfort. Regular wax needs high heat that might burn sensitive skin. Sugar wax only needs to be body temperature, so there’s no risk of burns.
New users often find that regular sugaring makes the process more comfortable over time as their hair grows back finer and thinner. The sugar paste stays soft while you use it, so it bends more easily and pulls hair from the root instead of breaking it at the surface.
Natural and non-toxic ingredients
Sugar wax’s simple ingredients are a great way to get started. The recipe needs just three things: sugar, lemon juice, and water. This mix is:
- Hypoallergenic and non-comedogenic
- Free from synthetic chemicals, preservatives, and artificial fragrances
- Naturally antibacterial, which helps control cross-contamination
- Gentle enough for sensitive skin areas
Warm water is all you need to remove the mixture since it dissolves in water—no harsh cleansers or oils required. Sugar and water work as humectants that lock moisture into your skin, adding hydration while removing hair.
Sugar waxing exfoliates without irritating your skin like chemical alternatives do. The paste lifts away dead skin cells as it removes hair, leaving your skin fresh and renewed.
Eco-friendly and zero-waste
Sugar waxing stands out as a green beauty practice in today’s environmentally conscious world. The environmental benefits are clear:
You don’t need disposable applicators, plastic strips, or wooden sticks that end up in landfills. The paste is biodegradable because it only contains food-grade ingredients.
The same ball of sugar paste works for an entire session, which creates much less waste than traditional waxing where you need fresh material for each area.
Sugar wax dissolves in water and turns into simple sugar water that barely affects the environment. This makes cleanup easy and eco-friendly.
Results typically last 3-6 weeks, making sugar waxing perfect for people who want a sustainable beauty routine. Many users see their hair grow back lighter, thinner, and slower, so they need fewer treatments over time.
This method also prevents ingrown hairs, a common issue with other hair removal techniques that often leads to buying more products for treatment. This time-tested technique combines great results with environmental care—you get salon-quality results while protecting the planet.
What You Need to Make Sugar Wax at Home
You can make your own sugar wax at home with just a few ingredients and tools. This makes it an economical DIY beauty option that saves money on salon treatments.
Simple ingredients: sugar, lemon juice, water
Your homemade sugar wax needs just three simple ingredients from your kitchen:
- Sugar: You’ll need 1-2 cups of sugar as the main ingredient
- Lemon juice: Add ¼ cup or 2 tablespoons, based on batch size
- Water: Mix in ¼ cup to balance with the acid
These amounts might change slightly in different recipes. To cite an instance, some recipes use equal parts of lemon juice and water (¼ cup each) with 2 cups of sugar. Others suggest a 1:1:8 ratio of lemon juice to water to sugar.
Lemon juice does more than just help with consistency. It works as a natural exfoliator, fights acne-causing bacteria, and gives your skin vitamin C nourishment. Apple cider vinegar works just as well if you don’t have lemons. Just use the same amount.
You can add these optional ingredients to improve effectiveness:
- Honey: 2 tablespoons adds moisture and fights bacteria
- Tea tree essential oil: 3-5 drops provide antimicrobial benefits
- Salt: 1 teaspoon helps the mixture last longer
- Cornstarch, baking soda, or baby powder: Use these to prep your skin, not in the wax
Optional tools: thermometer, strips, containers
The right tools can improve your sugar waxing results:
A candy thermometer helps you get perfect consistency. Heat the mixture to exactly 240-250°F (soft ball stage). This prevents your wax from becoming too runny or too hard.
You’ll need these for application and removal:
- Pre-made waxing cloths from online stores
- DIY strips from old cotton pillowcases, sheets, or curtains (cut to 2×4 inches)
Non-stretchy fabric pulls off cleanly in one motion. Cotton gives the best results.
Glass containers like mason jars work best for storage. Expert tips for pouring hot sugar wax into jars:
- Heat the jar under hot water first to prevent breaking
- Add a light coat of oil inside so the wax comes out easily
Your sugar wax stays good for 4-5 weeks in an airtight container in the fridge.
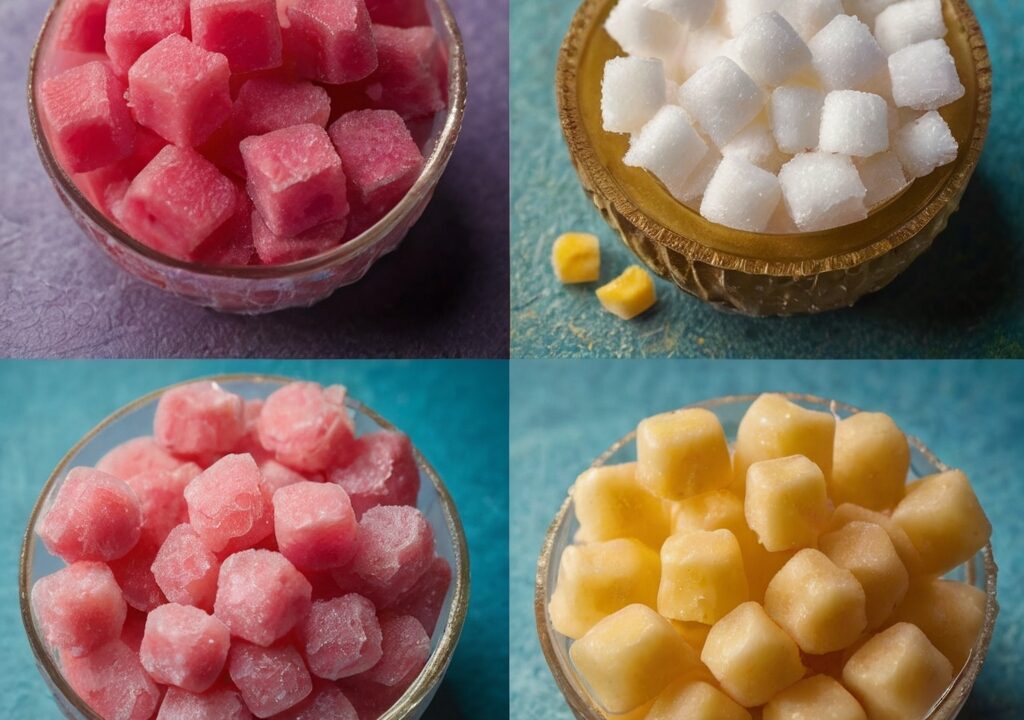
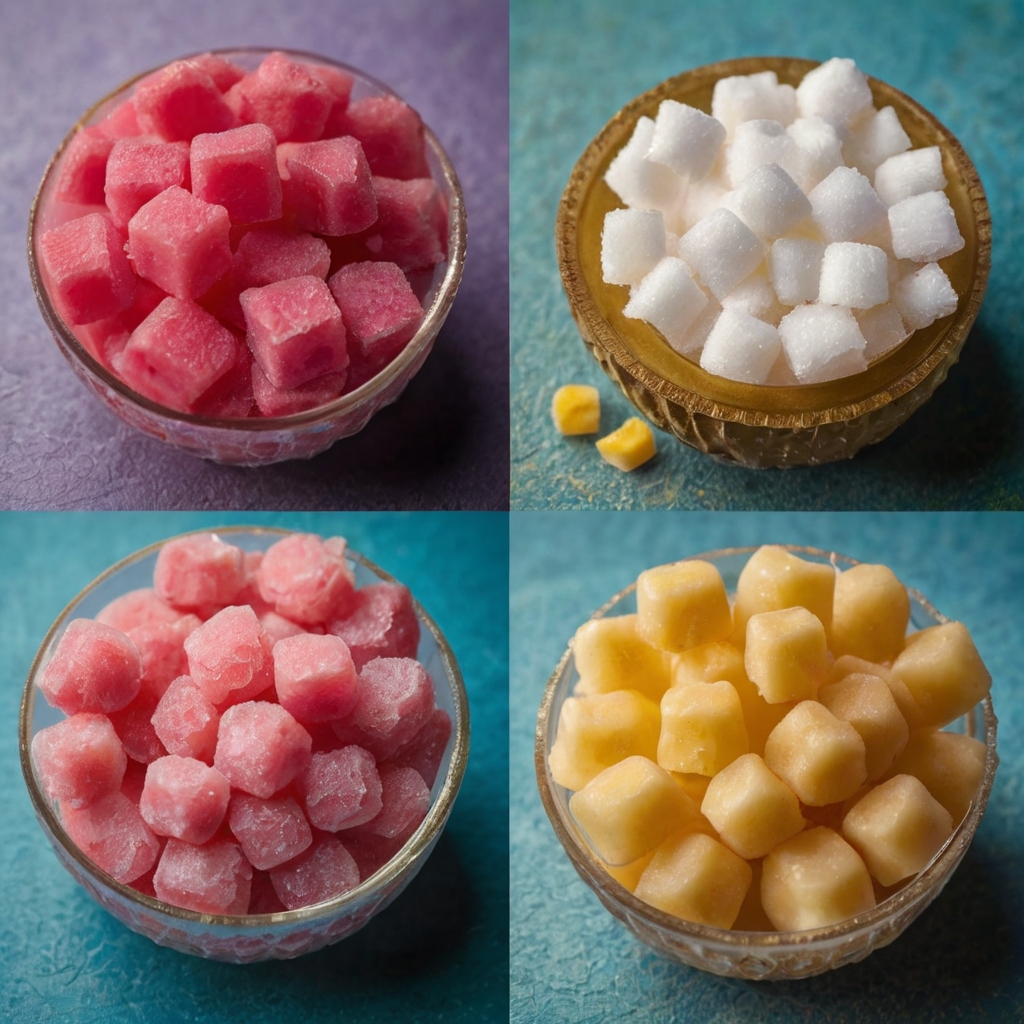
Choosing between white and brown sugar
White sugar works better than brown sugar for waxing. Here’s why:
White sugar lets you see the color changes that show when your wax reaches the right consistency. Brown sugar makes this visual cue hard to spot.
Brown sugar also hardens too fast during cooking. This quick setting makes it hard to get that perfect, stretchy texture needed to remove hair well.
Professional estheticians say white sugar (especially organic cane sugar) gives more consistent results. White sugar’s refined nature means it heats evenly and shows clear signs when it’s ready.
The recipe costs very little. One person spent just $1.00 for a lemon and pennies for sugar and salt. That’s much less than store-bought wax or salon visits.
Step-by-Step DIY Sugar Wax Recipe
You can make salon-quality sugar wax at home more easily than you might think. This simple yet effective sugar wax recipe gives professional results without fancy equipment or costly ingredients.
1. Combine ingredients in a pot
The success of a diy sugar wax recipe starts with exact measurements. You’ll need:
- 1 cup white sugar (preferred over brown to see color changes better)
- 1/8 cup lemon juice (fresh or bottled)
- 1/8 cup warm water[172]
Some recipes suggest using equal parts lemon juice and water (1/4 cup each) with extra sugar, but the ratio above creates the best consistency. Grab a medium-sized pot, even for small batches, since the mixture bubbles up quite a bit. Add all ingredients to the pot and make sure no sugar crystals stick to the sides.
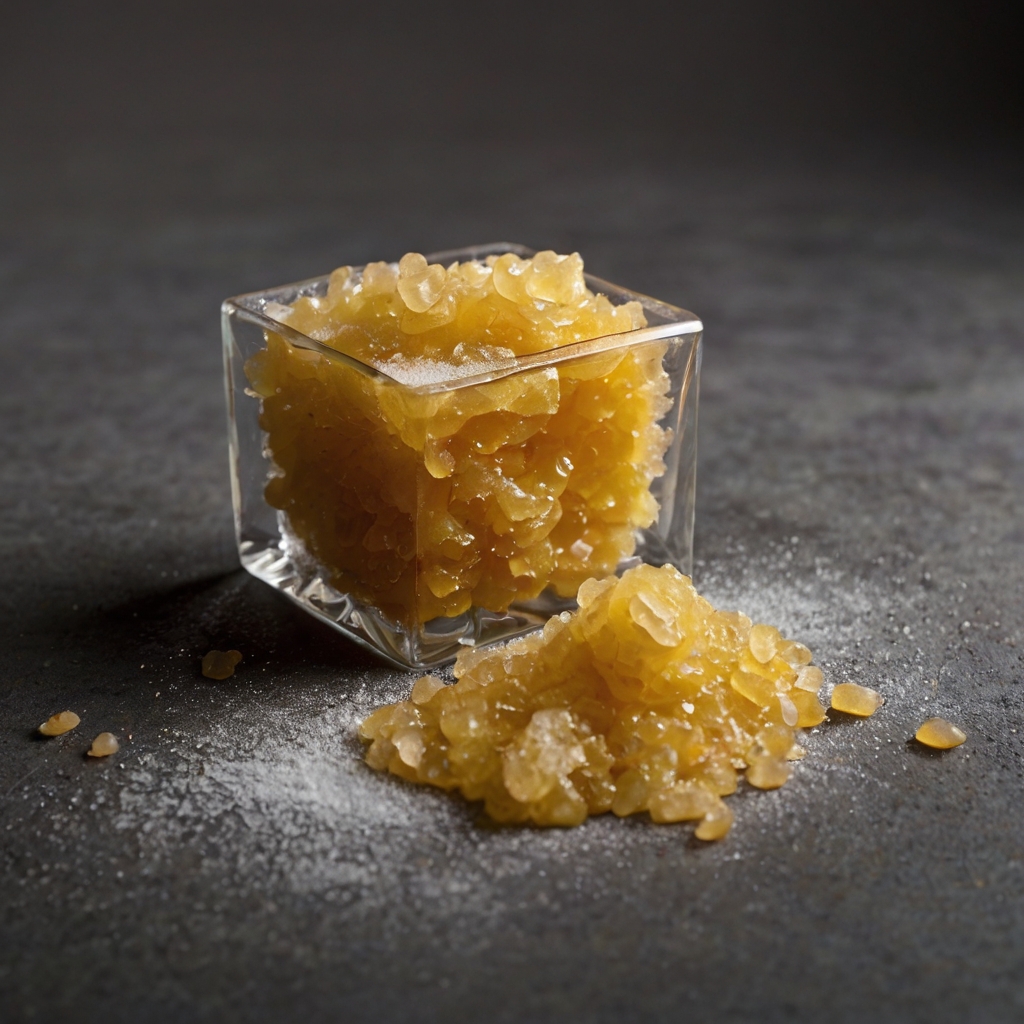
2. Heat until golden brown
Set your pot over medium-high heat until it boils. Most experts suggest lowering to medium heat once bubbling starts so it won’t burn. Keep stirring as you watch – things change quickly during this step.
The mixture should turn a warm honey or golden amber color. This usually takes about 8 minutes. A candy thermometer should read 240°F-260°F – what candy makers call the “soft ball stage”. Take it off the heat right away when you see this color, or your wax might be ruined.
3. Let it cool to safe temperature
Pour your sugar waxing mixture into a heat-resistant container to stop the cooking. Let it cool for about 30 minutes. This cooling step matters a lot since sugar burns can hurt badly.
Your wax should be between 100-110°F (37-43°C) before use. It should feel warm but not hot on your skin. Test a tiny bit on your inner wrist first. Look for a thick honey-like texture that stays pliable without running.
4. Store in a jar for future use
Save your sugar wax by pouring it into a glass jar while it’s still warm. Smart estheticians run their jars under hot water first so they don’t crack when the hot wax goes in. A light coating of oil inside the jar makes it easier to get the wax out later.
Keep your sugar wax at room temperature between 60-75°F, away from sunlight and heat. An airtight container works best. Just pop it in the microwave for 15 seconds at a time until it softens up when you need it again.
This homemade sugar wax recipe makes enough for several uses, which saves money compared to salon visits. The best part? You control what goes in it and can adjust everything based on how sensitive your skin is.
How to Use Sugar Wax for Hair Removal
Your homemade sugar wax recipe success depends on the right technique. The application process determines your results after wax preparation.
Prep your skin: clean and dry
Your skin needs to be really clean before sugaring. Take a shower to open pores and wait about 10 minutes until dry. A light dusting of baby powder or flour absorbs moisture and helps hair stick better. Hair should be as long as a grain of rice to get the best results—shorter hair won’t stick well, and longer hair needs trimming.
Apply wax against hair growth
Sugar wax works best when applied opposite to hair growth direction. This method lets the sugar penetrate hair follicles and stick to each strand. Spread a thin, even layer (about 1/4″ thick) with a butter knife, wooden tongue depressor, or your fingers. The wax just needs to be soft enough to spread smoothly—it doesn’t have to be hot.
Remove in direction of hair growth
Sugar wax differs from traditional waxing—you pull it off in the same direction as hair growth. Keep skin tight with one hand and quickly remove the wax with the other in one smooth motion. This method reduces pain substantially and stops hair from breaking.
Tips for using with or without strips
Strip method steps:
- Press fabric firmly on the applied wax back and forth
- Let the strip sit briefly so it sticks well
- Pull quickly along hair growth direction
The ball method lets you reuse the same wax 3-4 times until it turns cloudy from dead skin cells. You’ll get more precision with this technique, but it takes practice.
How to reheat and reuse wax
You can reheat sugar wax several times until the jar empties. Reheating options:
- Microwave for 10-15 second intervals and stir between
- Place jar in hot (not boiling) water for a few minutes
The wax should cool slightly and return to honey-like thickness before use. Keep it in a cool, dry spot between uses.
Aftercare and Troubleshooting Tips
The right aftercare plays a vital part in getting the best results from your sugar wax recipe and reduces skin irritation. These steps will help you keep your skin smooth and healthy after hair removal.
Soothe skin with aloe or coconut oil
Your skin needs cooling products right after sugaring to minimize redness and inflammation. Aloe vera gel works well to calm your freshly waxed skin. Make sure you remove all wax residue before you apply a thin layer of soothing ingredients like aloe vera, chamomile, or calendula.
Most estheticians recommend waiting 24 hours before using oils because they can clog your pores. You should wait a day before applying coconut oil or other moisturizers that help repair your skin barrier. Your sensitive areas might need a thicker moisturizing ointment with ceramides to restore skin health.
Avoid heat and friction for 24 hours
The first 24 hours after sugar waxing are vital. You should stay away from activities that make you sweat or create friction. Here’s what to avoid:
- Hot baths, saunas, steam rooms, or hot showers
- Vigorous exercise or workouts
- Tight-fitting clothing (wear loose, breathable fabrics)
- Direct sun exposure and tanning beds
- Sexual activity, especially after pubic hair removal
Your pores stay open after sugaring, which makes them vulnerable to bacteria and infection.
Exfoliate after 48 hours to prevent ingrowns
You should start exfoliating about 48 hours after your sugar waxing session. This removes the thin layer of skin that could trap new hair growth.
Regular exfoliation 2-7 times weekly with a gentle scrub, exfoliating gloves, or pumice scrub gives the best results. Your skin stays clear and allows hair to grow properly without getting trapped.
What to do if wax is too hard or too soft
You’ll need to start over if your sugar wax becomes too hard like toffee. Adding water won’t fix overcooked wax.
Your soft or runny wax might still work. Heat the mixture again until it turns golden yellow. The wax might get too sticky in warm environments, so try these solutions:
- Cool the paste in the refrigerator for 15 minutes
- Use strips instead of the hand method
- Work in a cooler room with a fan
- Wait some time after showering before sugaring
Your DIY sugar wax recipe can give you professional results with the right aftercare and troubleshooting while keeping your skin healthy and smooth.
Summing it all up
Sugar waxing shows evidence of beauty traditions that have stood the test of time. Not many cosmetic procedures can claim a 4,000-year history while still working today. This ancient hair removal method beats conventional options with less pain, natural ingredients, and amazing environmental benefits.
Making sugar wax at home is available to anyone who wants professional-quality results without paying salon prices. Users save hundreds of dollars every year and enjoy smoother skin for weeks. The simple recipe needs just three kitchen staples, which proves that good beauty solutions don’t need complex chemicals or expensive ingredients.
You might face a learning curve during your first attempts. With practice and patience, the technique becomes automatic. Many people’s hair grows back finer and sparser, which cuts down on maintenance as time goes by.
Sugar waxing helps you take charge of your beauty routine. You won’t need expensive salon visits or potentially harmful commercial products. The process also gives optimal results with proper aftercare and reduces skin irritation to create a detailed hair removal solution.
New beauty innovations keep coming up, but this ancient Egyptian technique shows that old wisdom often works better than modern alternatives. Sugar waxing brings together effectiveness, affordability, and gentleness – something rare in today’s beauty world. If you want a natural, budget-friendly way to get smooth skin, you should definitely try this time-tested method.
Here are some FAQs about how to make sugar wax:
How to make a sugar wax at home?
The basic sugar wax recipe requires just sugar, water, and lemon juice cooked to the perfect consistency. This best sugar wax recipe involves heating the mixture to 250°F (hard ball stage) while stirring constantly. For a DIY sugar wax recipe, let the mixture cool slightly before kneading it into a pliable paste that’s ready for hair removal.
How do you make 3 ingredient wax?
The simplest sugar wax recipe no strips uses just sugar, water, and lemon juice in a 2:1:1/4 ratio. This best sugar wax recipe alternative skips complicated ingredients while remaining effective. Cook the three ingredients for your sugar wax recipe at home until golden brown, then cool to a workable temperature before application.
What is the 24 hour rule after sugaring?
After using any sugar wax recipe, avoid moisture, heat, and friction for 24 hours to prevent irritation. This rule applies whether you’ve used a DIY sugar wax recipe or professional service. The best sugar wax recipe results last longer when you follow this important post-care guideline for optimal skin recovery.
How long to boil sugar for waxing?
For a proper sugar wax recipe at home, boil the mixture for about 5-7 minutes until it reaches 250°F. The best sugar wax recipe requires careful temperature monitoring to achieve the ideal sticky-but-not-burned consistency. Your DIY sugar wax recipe should produce a golden amber liquid that thickens as it cools.
Does homemade sugar wax really work?
Yes, a properly made sugar wax recipe no strips works effectively for hair removal when prepared correctly. The best sugar wax recipe formulations can be just as effective as salon treatments when applied with proper technique. Many find this sugar wax recipe at home more gentle and natural than commercial wax products.
Is sugar wax safe for pubic hair?
When using any sugar wax recipe for bikini areas, proper technique is crucial to avoid irritation. The best sugar wax recipe for sensitive areas includes proper temperature control and application direction. A DIY sugar wax recipe can be safe for pubic hair if you do a patch test first and follow all safety precautions.
Is sugaring better than waxing?
Many prefer sugar wax recipe methods because they’re more natural and less painful than traditional waxing. The best sugar wax recipe options use all-natural ingredients that are gentler on skin. However, sugar wax recipe at home requires more skill to apply correctly compared to pre-made wax strips.
Can I make sugar wax without lemon?
Yes, you can modify the sugar wax recipe no strips by substituting lemon with vinegar or omitting acid altogether. While the best sugar wax recipe traditionally includes lemon, a DIY sugar wax recipe without it will still work, though the texture might differ slightly. The acid helps prevent crystallization but isn’t absolutely necessary.
Can I make sugar wax with brown sugar?
Brown sugar can work in a sugar wax recipe, though it may produce a stickier result than white sugar. The best sugar wax recipe typically uses white sugar for optimal consistency, but a sugar wax recipe at home with brown sugar offers a more molasses-like variation. Expect a darker color and slightly different texture when substituting.